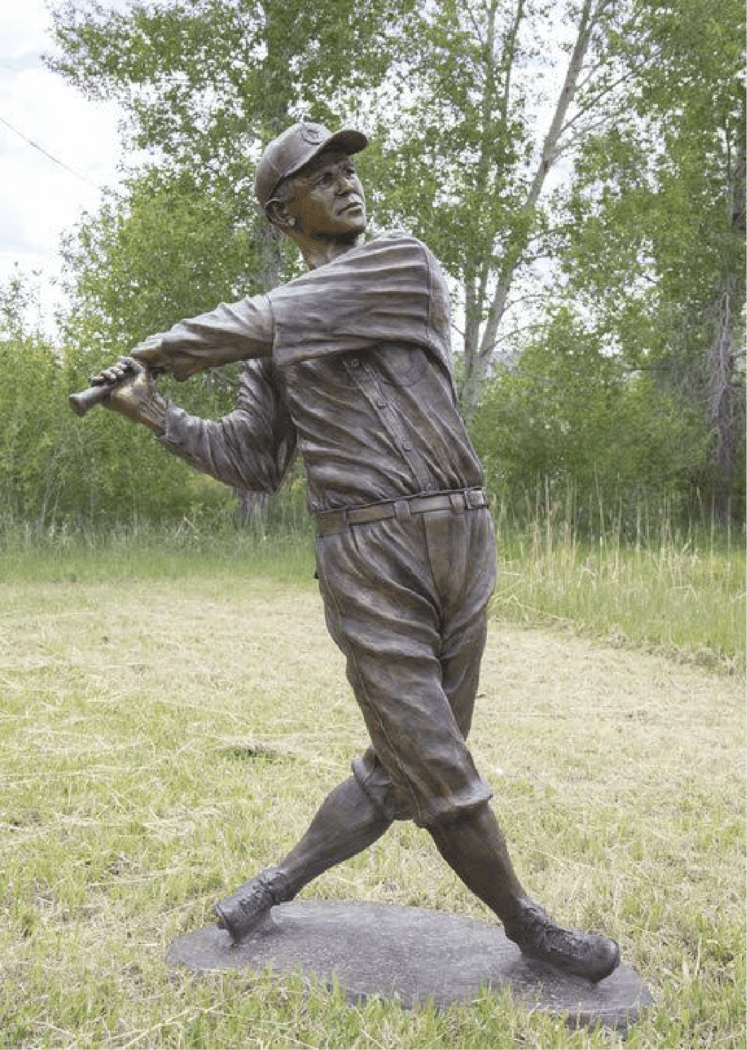
The Making of
a Life-sized
Sculpture of:
Hall of Fame Baseball
Player Joe Sewell
FOR THE UNIVERSITY OF ALABAMA
By: CHIP TAYLOR
Step 1: The Maquette
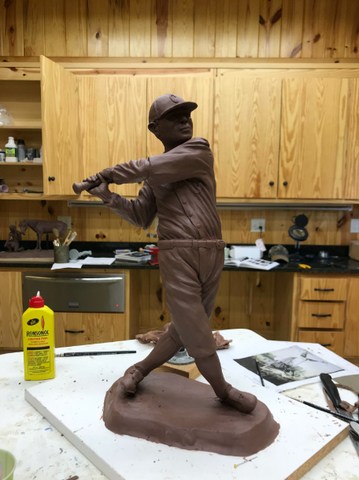
The first step was to produce
a model known as a maquette
in oil-based clay.
A mold was made and the 18”
maquette was reproduced in
a resin material that
resembles bronze.
This was then laser scanned to produce
a 3D image in the computer. Then a CNC machine milled out a life-sized copy of
the maquette minus the surface detail.
1
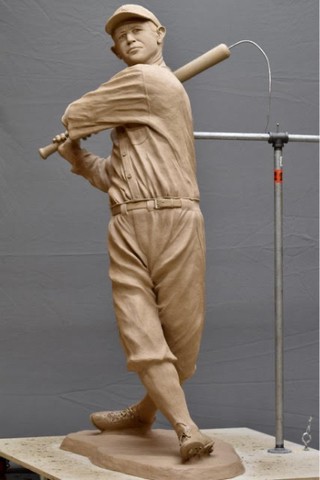
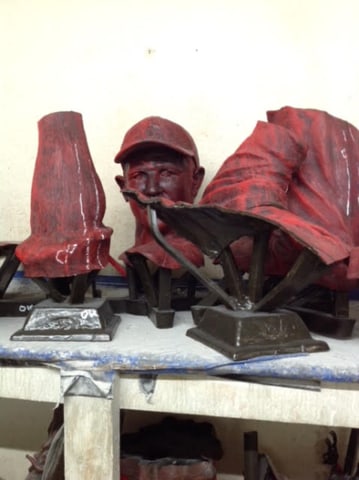
Step 2: Resculpt + Silicone

The foam then acts as a support
known as an armature for the
oil-based clay that was used to
resculpt the surface details.
The sculpture is then divided into
sections by metal shims and layers
of silicone rubber are applied to
form the mold.
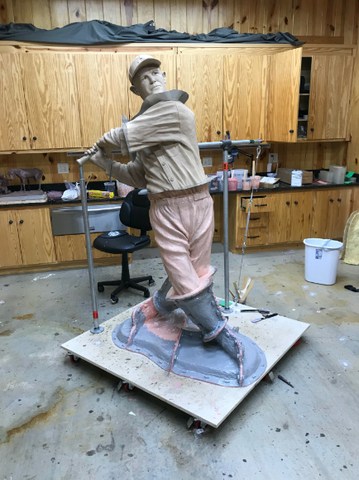

After building up the silicone to approximately 3/8”, a rigid outer shell or mother mold was constructed out of multiple layers of epoxy.
2
Step 3: The Foundry

The first step was to produce
a model known as a maquette
in oil-based clay.
A mold was made and the 18”
maquette was reproduced in
a resin material that
resembles bronze.

This was then laser scanned to produce
a 3D image in the computer. Then a CNC machine milled out a life-sized copy of
the maquette minus the surface detail.
3
The ceramic pieces are then placed in an oven and the wax is melted away. Molten bronze is then poured into the ceramic shell.
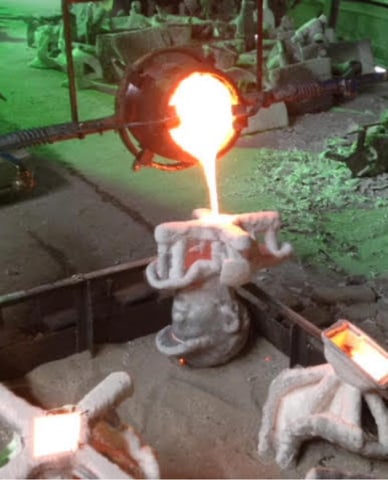
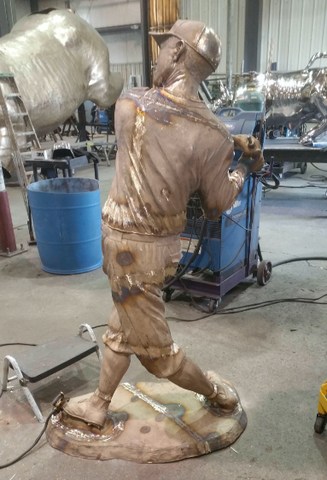
Once the bronze cools, the ceramic shell is broken away and the resulting bronze pieces are welded together to reassemble the sculpture
The welds are finished down and the surface textured to hide the weld lines. Then, chemicals are applied to the surface to produce the desired color or patina.
4
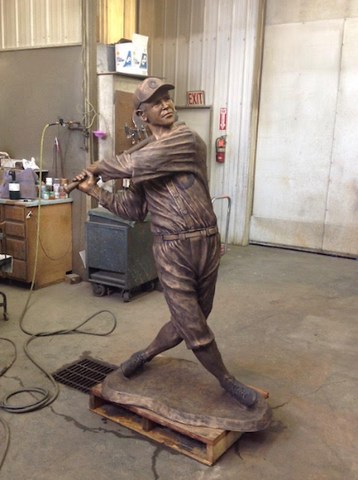
Step 4: The Final Coat
A final coat of lacquer helps seal the surface and protect the patina. The sculpture is now ready for installation!